Barcode printers are different from ordinary printers in the office. They are specially printed barcode labels, which are not likely to be used by ordinary people. They are commonly used in packaging, electrical appliances, commodities, office, production, jewelry, clothing, transportation, tickets, etc. More professional printout equipment. Because it is relatively small, it is a problem for many people who have just touched or never touched a bar code printer, how to install and use the bar code printer. In order to facilitate the novice users to get started quickly, Xiaobian will introduce how to install and use the barcode printer today.
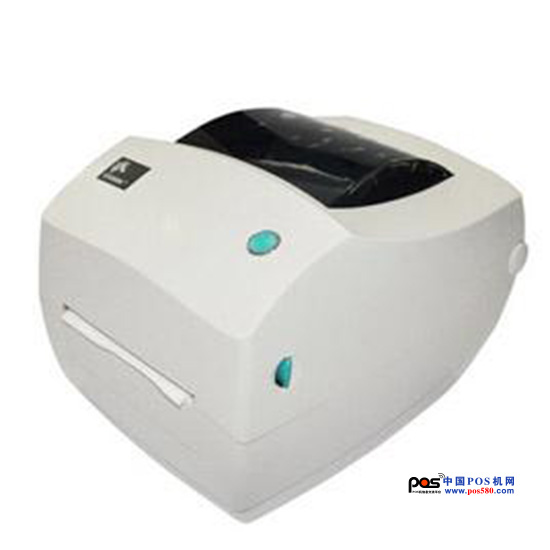
Zebra gk888t barcode printer
Step 1: Install printing supplies
Usually, the newly purchased printer will be accompanied by the “Installation Guideâ€. Users who print thermal paper can install the thermal paper directly according to the instructions, without installing a ribbon. For those who need to print the label paper, follow the instructions of the manual, first install the ribbon recovery shaft, ribbon, and then install the label paper. If you have not read the instructions, you can go to the corresponding label paper and ribbon on the Internet. Install the video, it will not be expanded in detail here.
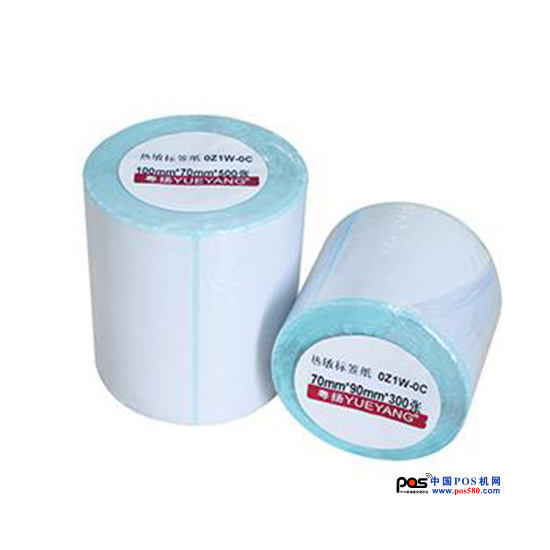
Thermal Paper
It should be noted that, 1, the use of carbon ribbon, there must be a ribbon recovery shaft, otherwise it will affect the normal operation of the printer; 2, install the ribbon, must not be reversed; test the positive and negative sides of the ribbon: tear a label The paper sticks to the front and back sides of the ribbon. The side that can adhere to the black powder is the front side of the ribbon. This side is facing the label paper. 3. The ribbon should match the label paper, such as coated paper and ordinary wax-based ribbon. PET/PVE and other synthetic papers should use resin ribbons. Never use wax-based carbon to print synthetic paper. This is not possible. 4. Whether the detector is aligned with the corresponding consumables for subsequent successful calibration.
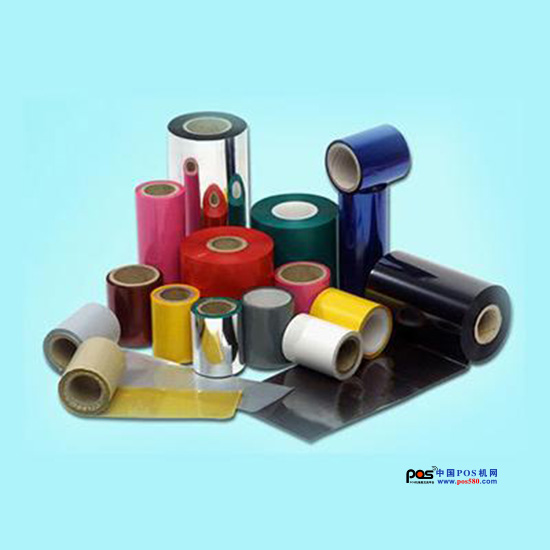
Color barcode ribbon
Step 2: Connect your computer and printer
First plug the data cable, make sure it is connected to the computer, then turn on the printer switch, remember that the order is not wrong, first connect the data cable, then connect the power. Because in addition to USB, data interfaces such as parallel port and serial port do not support hot plugging, so it is best to insert the data cable in advance.
The third step: pre-printing calibration
If the label paper and ribbon are newly installed, you need to do a paper calibration. Otherwise, you may skip the paper (print one line or a few lines of blank labels). When the calibration is successful, you can ensure accurate printing. There will also be calibration instructions in the “Installation Guide†that comes with the unit, or you can ask the seller directly.
The fourth step: printing software, driver installation
The printing software is a professional label editing software specially used for making and printing label templates. The general purchase of the machine CD comes with free print editing software, which can meet the basic printing requirements commonly used. If you already have the appropriate software system to generate and print barcode labels, you do not need to install them separately.
The driver is a component that must be installed most of the time to convert the software interface and settings into a command language that the printer can recognize. The driver does not have to be installed only if the user knows how to directly control the printer. Note: After the driver is installed, the icon does not appear on the desktop. It needs to be viewed in the “Control Panel†- “Devices and Printers†list. Usually the print icon seen on the desktop is the label editing software. Drivers and software can be found on the CD-ROM or downloaded from the official website.
Step 5: Label paper typesetting
According to the label printing requirements, typesetting is done in the editing software, usually typesetting is divided into several steps:
a) Use the ruler to measure the height and width of the label. This step is very important. The settings in the software should be based on the actual size of the label.
b) Set the page, label size, and the value just measured, and set it in the corresponding place of the software.
c) Add content as needed.
d) Preview, watch the preview window and the actual requirements are consistent. Some software does not support previews and needs to print the viewing directly.
e) Print, complete.
When the above five steps are completed, your barcode printer will print normally. In addition to normal use, because the bar code printer printhead is a high-value precision component, it is directly in contact with the ribbon or the label, which is relatively easy to damage and requires frequent cleaning and maintenance.
Because users, especially novice users, are not familiar enough with bar code machines, even if you understand the installation and use steps of the above bar code printers, you will still encounter many problems when using them. According to our experience, more than 90% of the problems are users. Caused by improper use. Therefore, only you can take the initiative to understand the correct operation of the bar code printer, as well as the solution to the problem, can quickly get started with the bar code machine, how to use it.

Our glasses high end appearance/ superior quality/ suitable or all occasions.
Tiktok/ instagram/face book/linkedin popular glassware.Keep updated with the hottest glasses.
MORE NEW GLASSWARE PLEASE Click:
Decoration Glass/ Glass Bowl /TableWare Glass/ Glass Plate /Champagne Glass/Wine Glass Set/ Drinking Glass /Red Wine Glass
Hot-selling glasses,Popular glasses,Tiktok glasses,New Arrival Glasses
Xi'an ATO International Co., Ltd , https://www.xianato.com